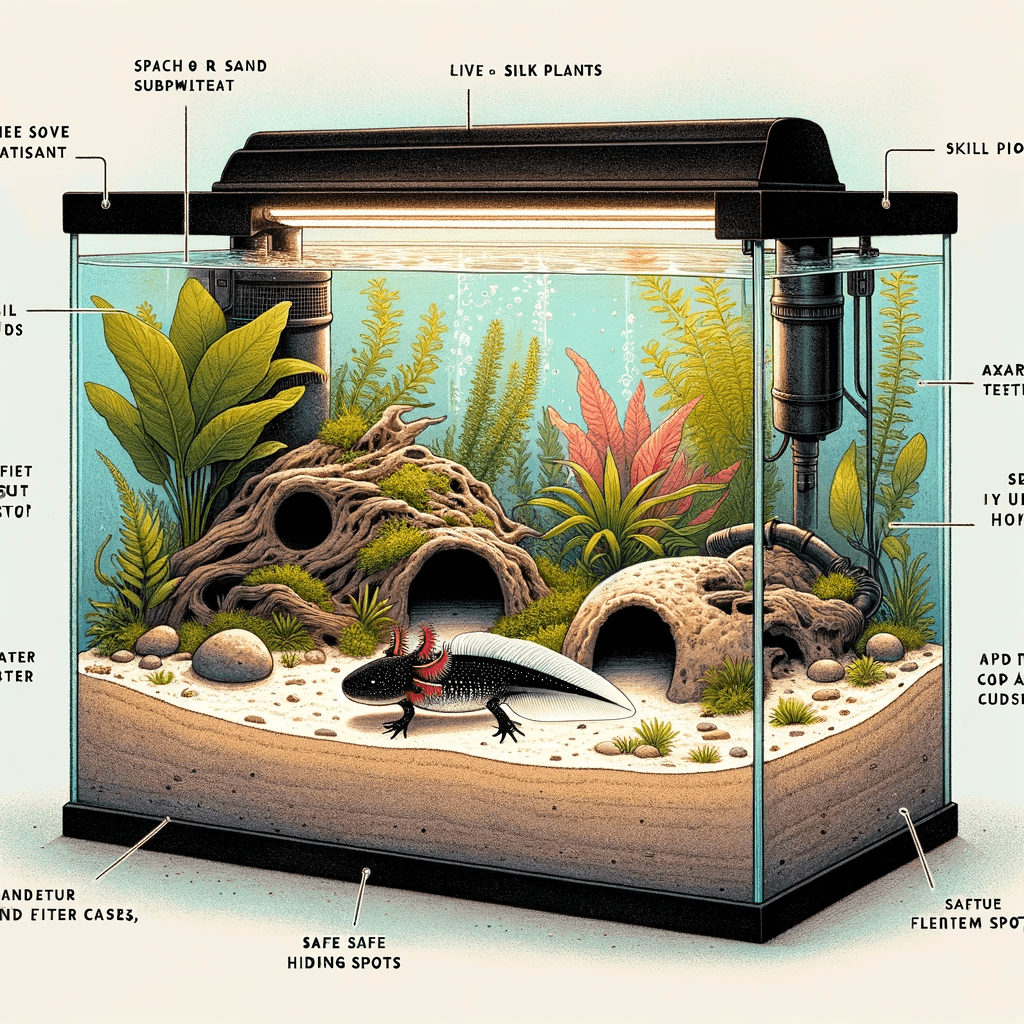
The Ultimate Guide to Setting Up an Axolotl Tank
Creating the Ideal Home: A Step-by-Step Guide to Setting Up an Axolotl Tank
Axolotls, with their unique appearance and fascinating biology, have captivated the hearts of aquatic enthusiasts worldwide. Setting up a proper tank for these exotic pets is crucial for their health and happiness. This guide walks you through the essential steps of creating an optimal axolotl habitat, ensuring your aquatic friend thrives in its new home.
Step 1: Choosing the Right Tank Size
- Minimum Size: A 20-gallon tank is the minimum size recommended for one axolotl. For each additional axolotl, add 10 gallons to ensure ample space.
- Considerations: Opt for a tank with a large surface area to ensure adequate oxygen exchange and more room for your axolotl to explore.
Step 2: Setting Up the Substrate
- Suitable Substrates: Fine sand is ideal as it prevents impaction, a common issue when axolotls ingest larger substrate particles. Avoid gravel and small pebbles.
- Depth: A substrate depth of 1-2 inches is sufficient for axolotls to grip without posing a risk of ingestion.
Step 3: Water Conditions and Temperature
- Temperature: Keep the water temperature between 60-64°F (16-18°C). Use aquarium coolers if necessary, as axolotls are cold-water species and high temperatures can stress them.
- pH Level: Maintain a pH level between 6.5 and 7.5. Regularly test the water to ensure it remains within this range.
Step 4: Filtration System
- Type: Choose a filter that provides efficient mechanical and biological filtration without creating strong currents, as axolotls prefer still water.
- Placement: Ensure the filter does not disturb the tank’s tranquility. Sponge filters or external canister filters with flow adjusters are excellent choices.
Step 5: Tank Decor and Hiding Places
- Plants: Live or silk plants not only add beauty to the tank but also provide hiding spots for axolotls. Avoid hard plastic plants that can injure your pet.
- Hides: Caves, PVC pipes, and other safe decorations allow axolotls to retreat and feel secure. Ensure all decor is free of sharp edges.
Step 6: Lighting
- Ambient Light: Axolotls do not require specialized tank lighting. Indirect, natural light or soft artificial light is sufficient, as bright lights can stress them.
Step 7: Water Cycling
- Importance: Before introducing your axolotl to the tank, cycle the water to establish beneficial bacteria. This process can take 4-6 weeks and is crucial for converting harmful ammonia and nitrites into less harmful nitrates.
- Testing: Use a water testing kit to monitor ammonia, nitrite, and nitrate levels throughout the cycling process.
Conclusion: The Foundation of Axolotl Care
Setting up an axolotl tank is the first step toward a rewarding journey with these unique creatures. By following these guidelines, you create a safe, comfortable, and stimulating environment that promotes the health and well-being of your axolotl. Remember, regular maintenance and water quality checks are key to sustaining an ideal habitat for your aquatic companion.
Embarking on the adventure of axolotl keeping brings joy and wonder into your life. Sharing your experiences and learning from the axolotl community can enhance your journey, ensuring your axolotl enjoys a long, happy life in its well-crafted home.


